The Variations Sprint: A 45‑Minute AI Video Workflow for 10 Usable Clips (Without Losing Consistency)
The Variations Sprint: A 45‑Minute AI Video Workflow for 10 Usable Clips (Without Losing Consistency)
Most AI video creators don’t have a generation problem—they have a selection and consistency problem.
You can get a stunning 5‑second clip… once. Then you try to “make 9 more like that” and everything drifts: the character’s face changes, the scene resets, the camera language goes random, and your edit becomes a junk drawer of almost‑good shots.
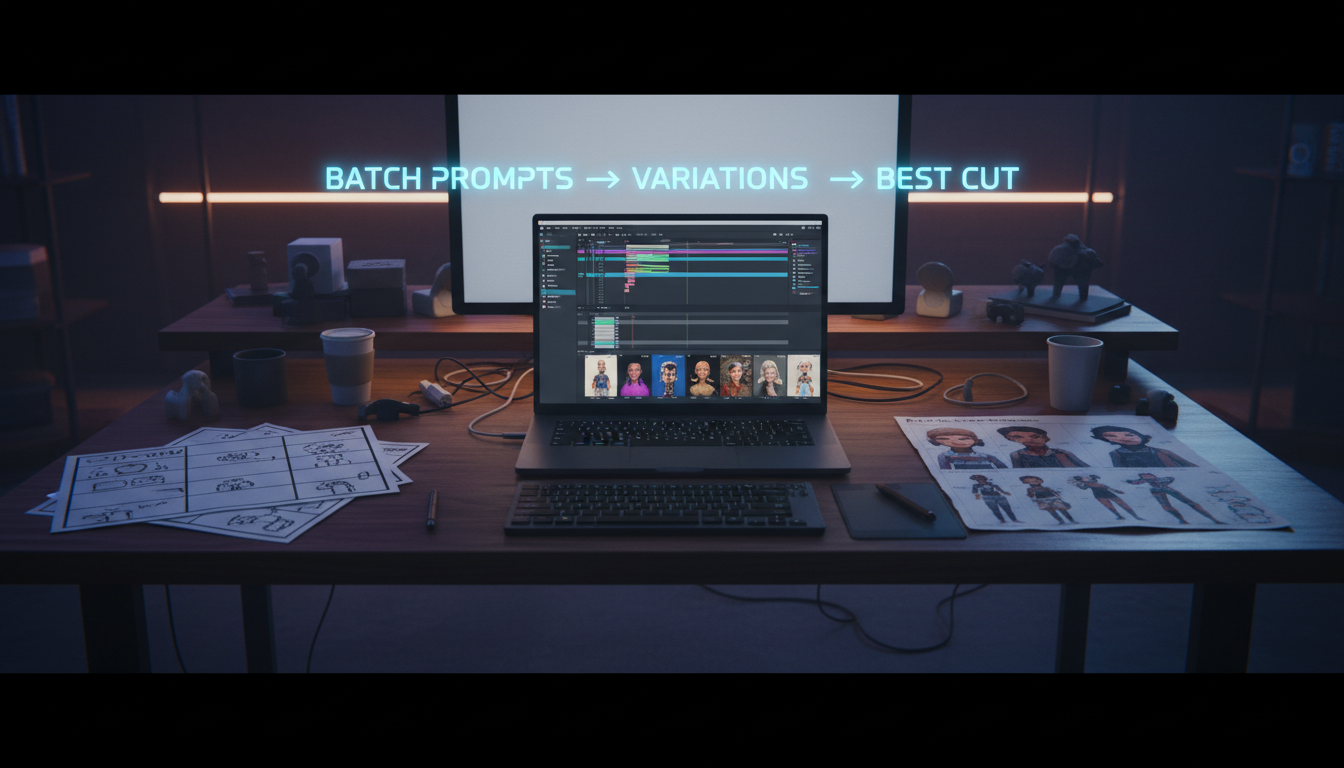
This post is a practical workflow I call the Variations Sprint: a repeatable way to generate lots of options fast, keep your character and style coherent, and walk away with 10 usable clips you can cut into a trailer, ad, or short.
Who this is for (and what you’ll be able to do)
Audience: creators, marketers, and small teams producing AI video content weekly (trailers, product teasers, TikTok/Reels, YouTube shorts).
Promise: in ~45 minutes, you’ll produce a small “clip library” that:
- looks like it belongs to the same project,
- features the same character (or at least the same identity cues),
- gives you multiple angles/motions so the edit feels intentional,
- is easy to assemble in an editor.
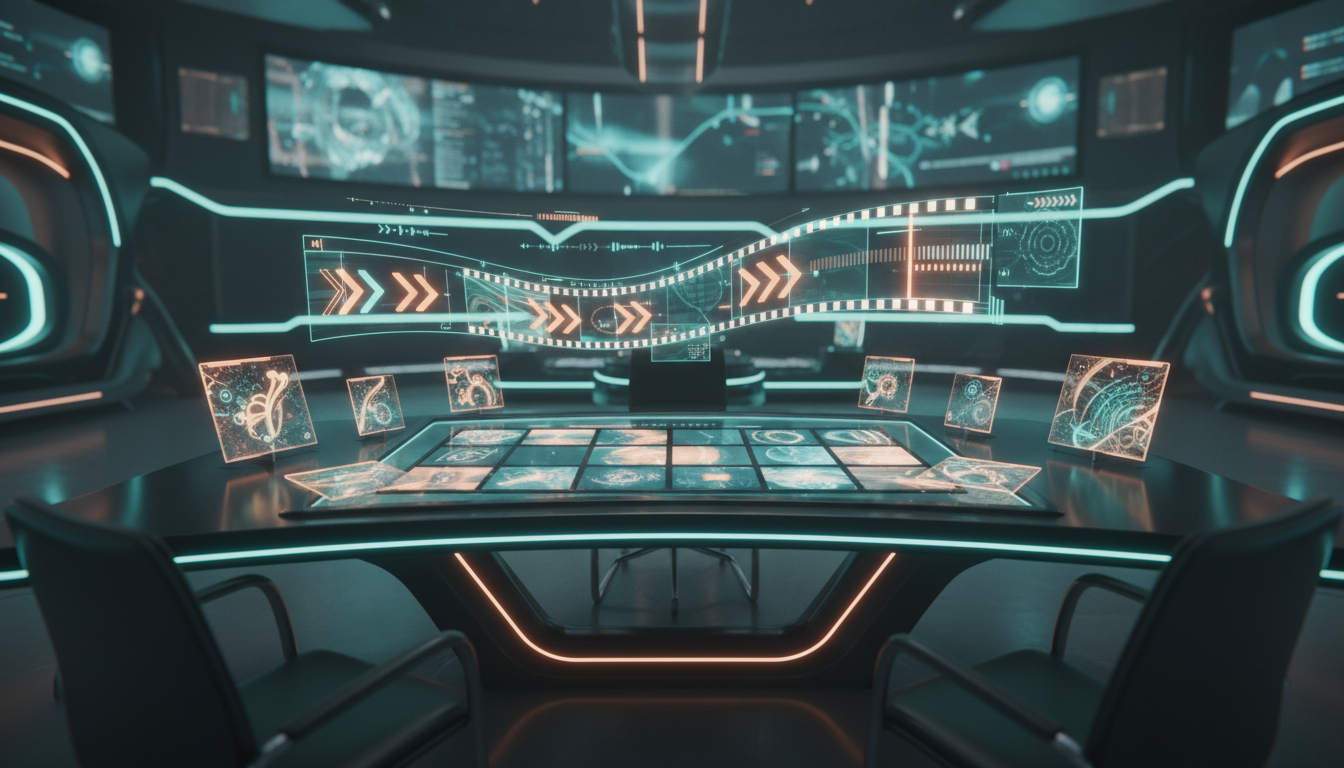
The core idea: stop chasing the perfect prompt—run controlled experiments
Instead of writing one mega‑prompt and hoping it works, the Variations Sprint treats AI video like a mini production:
- You define a locked brief (character + world + tone).
- You define a shot list (what you need to cut a sequence).
- You generate variations of each shot with only one variable changed at a time.
That last point is the secret. When you change multiple things at once (character + lighting + lens + location + action), you can’t tell what caused the good result—and you can’t reproduce it.
Step 1 — Write a one‑screen “Locked Brief” (5 minutes)
Open a notes doc and write this (literally one screen). You’ll paste pieces of it into prompts later.
1) Character lock
Include identity anchors that survive generation drift:
- age range + vibe (e.g., “late‑20s, confident, playful”)
- defining features (hair, freckles, glasses, etc.)
- wardrobe (simple, repeatable)
- optional: a reference image you reuse for image‑to‑video (Img2Vid)
2) World + lighting lock
Pick a single “home base” environment:
- location (studio kitchen, neon street, clean office, sci‑fi hangar)
- time of day
- lighting style (soft window light, hard rim light, film noir)
3) Film language lock
Choose a small set of consistent choices:
- aspect ratio (9:16 for shorts, 16:9 for YouTube)
- lens look (35mm documentary, 50mm portrait, anamorphic)
- motion style (slow dolly, handheld micro‑shake, locked tripod)
Output: a brief you can reuse across multiple shoots.
Step 2 — Build a 6‑shot “editor-friendly” shot list (8 minutes)
If your goal is an ad/trailer/short, you don’t need 30 shots. You need a cuttable sequence.
Use this template:
- Hook (wide/establishing): where are we? what’s the vibe?
- Character intro (medium): the face + identity anchors
- Action (close): hands / object / moment (easy to intercut)
- Motion shot: camera move that adds energy (dolly, push‑in, orbit)
- Reaction (medium close): emotion sells reality
- Ending / hero frame: clean shot for text overlay
This list is intentionally editor‑friendly: it gives you wide → medium → close coverage so your edit doesn’t feel like random demo clips.
Step 3 — Create a “prompt block” you can paste everywhere (7 minutes)
Make one reusable prompt block with:
- your Character lock (shortened)
- world + lighting
- film language
- then the shot‑specific line
Here’s a copy‑paste template:
BASE PROMPT (paste into every generation)
Character: [identity anchors + outfit]
Setting: [location + time + lighting]
Cinematography: [lens + camera style + aspect ratio]
Quality: cinematic, natural motion, detailed textures, coherent scene, realistic lighting
Shot: [ONE line describing the shot action + framing + camera move]
Why “one line” for the shot?
Because it forces you to keep the shot definition crisp. The more you ramble, the more the model invents.
Step 4 — Run the Variations Sprint (20 minutes)
Now you generate quickly, but with control.
The rule: one variable at a time
For each of your 6 shots, generate 2–4 variations by changing just one dimension:
- camera: push‑in vs. locked vs. slight orbit
- framing: medium vs. medium close
- action intensity: subtle vs. more expressive
- tempo: slower vs. snappier motion
Keep character + world anchors the same.
A practical cadence
- Shot 1: 3 variations
- Shot 2: 4 variations (faces are finicky)
- Shot 3: 3 variations
- Shot 4: 3 variations
- Shot 5: 3 variations
- Shot 6: 2 variations
That’s 18 generations total—enough to find winners without getting lost.
Pro tip: use Img2Vid when identity matters
If your project includes “videos starring you” or a specific AI character, image‑to‑video is your best friend:
- generate (or upload) a strong character reference image
- reuse it across shots
- only vary camera/action, not the identity
This reduces face drift dramatically.
Step 5 — Pick winners fast with a simple scoring pass (3 minutes)
Don’t “feel” your way through 18 clips. Score them.
Give each clip a quick 0–2 score in three categories:
- Identity: does the character read as the same person?
- Physics: does motion look believable enough to cut?
- Composition: is it framed for editing (space for text, clear subject)?
Total score out of 6.
- 5–6: immediate keeper
- 3–4: maybe (save if it fills a coverage gap)
- 0–2: discard
This makes selection objective and fast.
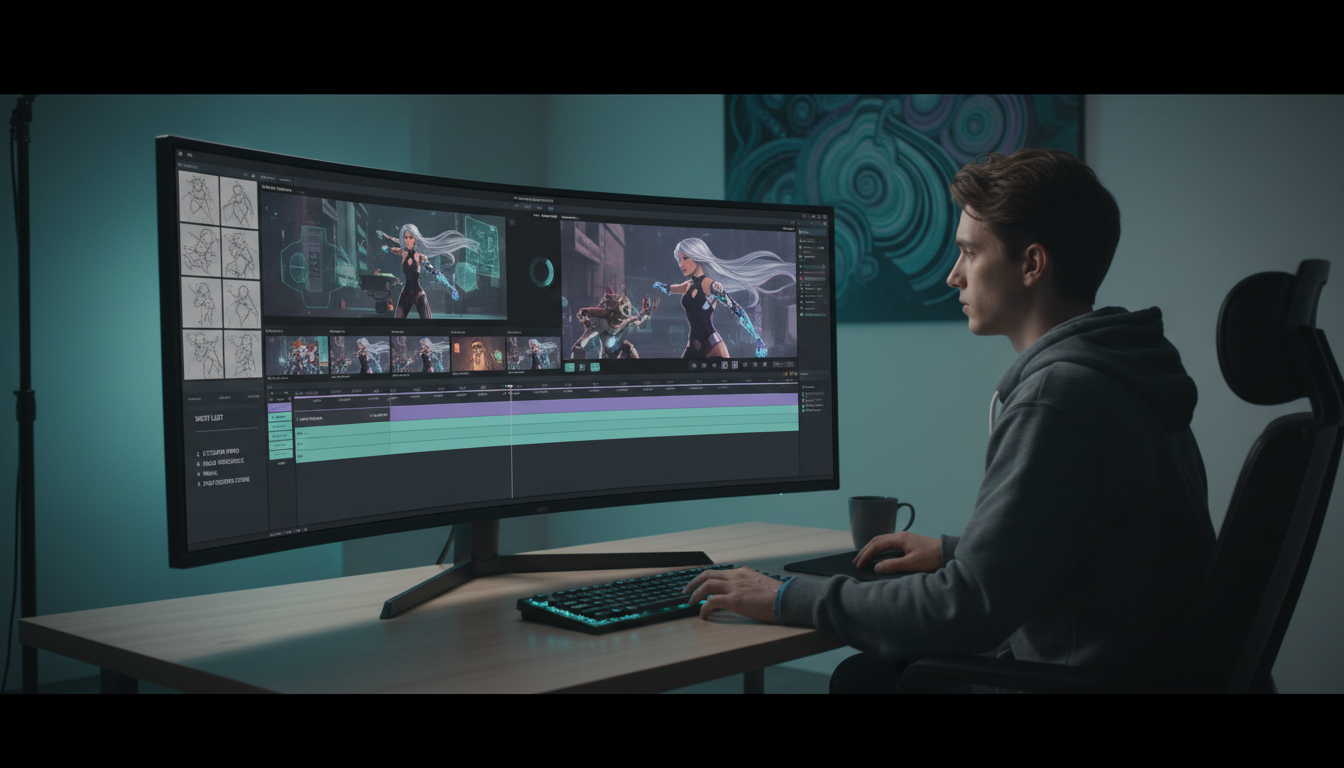
Step 6 — Assemble the “10‑clip library” in your editor (5–10 minutes)
Once you have keepers, drop them into an editor and build a mini sequence:
- hook wide → character intro → action close → motion shot → reaction → hero frame
- keep cuts tight (0.5–1.5s per cut for shorts)
- add text overlays on the cleanest frames
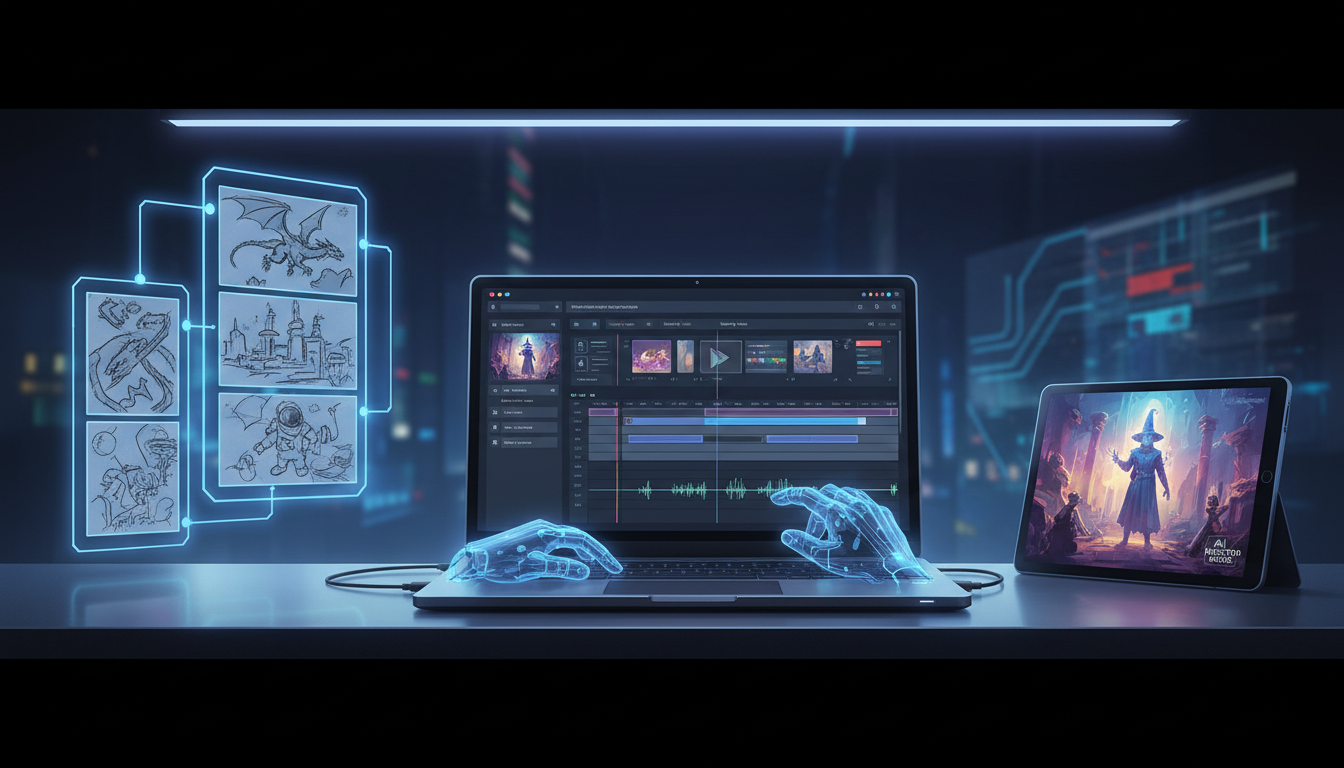
Where mAikBelieve fits
mAikBelieve is built for this exact workflow:
- create trailers/videos starring you or an AI character you control
- generate clips quickly, including image‑to‑video (Img2Vid)
- keep your outputs organized as a project
- assemble the final sequence in the editor (so you can actually publish, not just generate)
If you want a practical way to go from “cool samples” to a publishable trailer, mAikBelieve helps you run the Variations Sprint end‑to‑end.
Quick checklist (copy/paste)
- [ ] Write a 1‑screen Locked Brief (character, world, film language)
- [ ] Create a 6‑shot editor‑friendly shot list
- [ ] Build one BASE PROMPT + one‑line shot definition
- [ ] Generate 18 variations (change only one variable at a time)
- [ ] Score clips (Identity / Physics / Composition)
- [ ] Save 10 keepers into a clip library
- [ ] Cut wide→medium→close sequence in your editor
Example: two shot prompts to get you started
Shot 2 (character intro, medium close):
Character: late‑20s creator, short dark hair, subtle freckles, black hoodie, confident smile
Setting: clean modern studio, soft window light, warm highlights
Cinematography: 50mm portrait look, shallow depth of field, gentle handheld micro‑movement, 16:9
Quality: cinematic, realistic lighting, detailed textures, coherent scene
Shot: medium close‑up, the character turns to camera and begins to speak, natural facial motion
Shot 4 (motion shot, orbit):
Character: same as above
Setting: same as above
Cinematography: 35mm, slow orbit, smooth parallax, 16:9
Quality: cinematic, realistic lighting, detailed textures
Shot: medium shot, character gestures toward a laptop timeline, camera orbits 20 degrees clockwise
Closing: the goal is consistency you can edit
AI video is finally fast enough that you can generate a lot. The bottleneck is building a process that gives you consistent footage you can actually cut.
Run the Variations Sprint once, save your Locked Brief, and you’ll feel the difference immediately: fewer “almost” clips, more keepers, and a clear path from generation → selection → edit → publish.
Next step: try this workflow inside mAikBelieve and build a short trailer with AI characters, image‑to‑video clip generation, and the built‑in editor—so you can ship a video that looks like a real production.
Related Articles
Ready to Create Amazing AI Videos?
Join thousands of creators using mAikBelieve to generate stunning AI-powered trailers and stories.
Get Started Free