The Multi‑Shot Prompt Era: How to Generate 6 Cuts at Once (and Still Keep It Editable)
AI video is quickly moving from single clips to multi-shot sequences — where one prompt produces a mini scene with multiple camera cuts. That’s exciting… and it also creates a new problem: if one shot is wrong, you often have to re-roll everything.
This post is a practical workflow for using multi-shot generation like an editor, not like a slot machine — so you can keep narrative flow and keep the project editable inside mAikBelieve.
The signal: creators are optimizing for multi-shot
In the last couple days, the AI video conversation has been dominated by multi-shot and quality control:
- Higgsfield shared a “best quality” Kling 3.0 guide and people are treating it like a checklist for cinematic results.
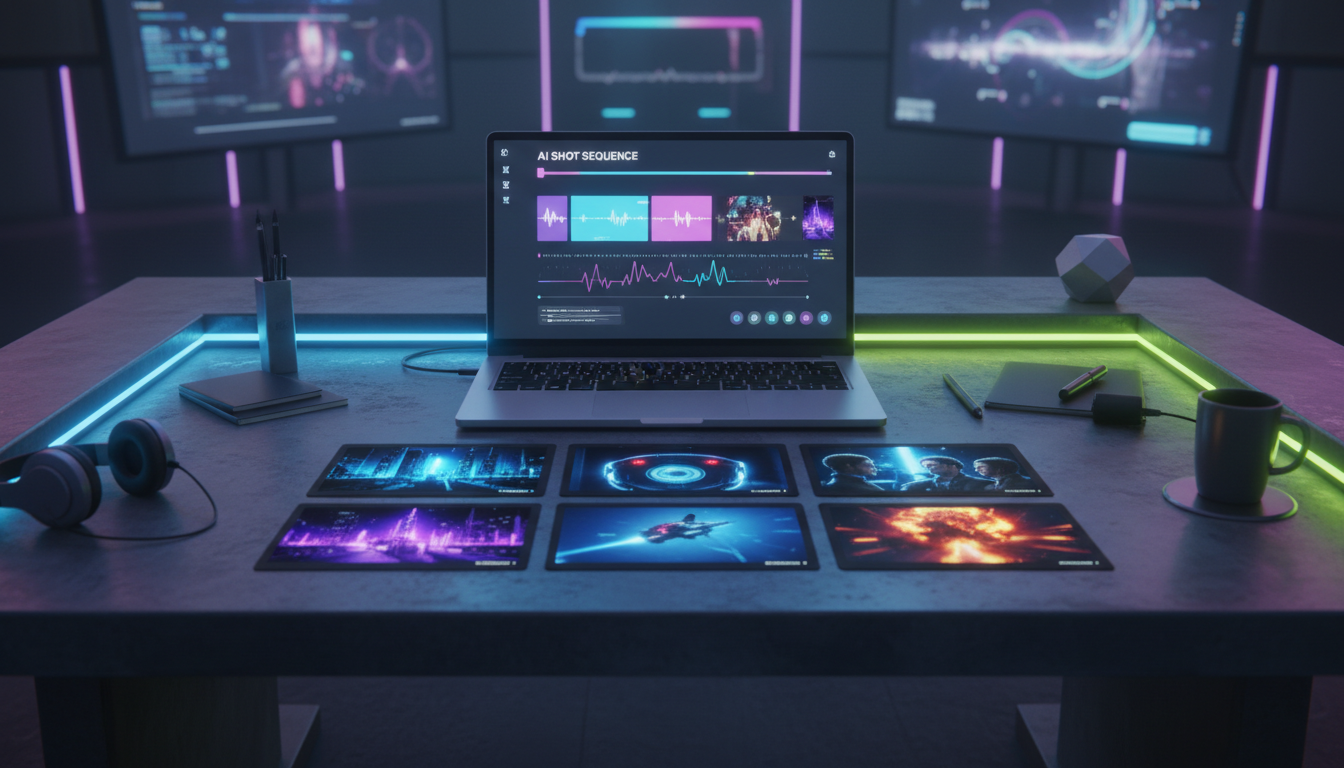
- Darko Janevski called out the big shift: set exact duration, plus multi-shot storyboards where you can define up to 6 camera cuts in a single prompt.
The takeaway: multi-shot is becoming the default. The creators who win won’t be the ones who can generate the coolest single clip — it’ll be the ones who can reliably produce sequences that can be cut together.
The core idea: treat your prompt like an edit decision list (EDL)
Multi-shot models reward structure. Instead of “make a cinematic trailer,” you want a prompt that reads like a shot plan:
- Shot 1: hook
- Shot 2: escalate
- Shot 3: reveal
- Shot 4: turn
- Shot 5: climax
- Shot 6: button
When you do this, you get two benefits:
- The model has fewer degrees of freedom (better adherence).
- You can recreate/replace individual shots later — which is the only way to stay sane at scale.
A 6-shot storyboard template that actually works
Here’s a template you can copy into your own workflow. The trick is to repeat continuity anchors in every shot while changing only what must change.
Step 1) Write a 1-sentence logline (don’t skip this)
Example:
A burned-out detective follows a glitchy AI witness through a rain-soaked city to stop a memory heist.
This logline becomes your north star for shot selection.
Step 2) Create your “continuity anchors”
Pick 5–8 anchors you will repeat in every shot:
- Protagonist description (age, wardrobe, signature detail)
- Environment (location + lighting)
- Lens/film language (e.g., anamorphic, shallow depth of field)
- Color palette
- Tone
- A recurring prop
Example anchors (short on purpose):
- 35mm anamorphic, teal/amber neon, rain, wet pavement reflections
- Detective: black trench coat, silver ring, tired eyes
- AI witness: holographic shimmer, subtle scanlines
Step 3) Build 6 “shot cards”
Each shot card is just:
- Camera: framing + movement
- Subject: who is on screen
- Action: what changes
- Continuity: repeat anchors
- Duration: 2–3 seconds
Shot Card Example (format):
- Hook (2.5s)
- Camera: wide establishing, slow push-in
- Subject: detective alone
- Action: looks up as a hologram flickers
- Continuity: [anchors]
- Escalate (2.5s)
- Camera: medium, handheld micro-shake
- Subject: detective + AI witness
- Action: witness points into the crowd
- Continuity: [anchors]
…repeat until 6.
Step 4) Turn shot cards into a multi-shot prompt
Write the prompt as a numbered list. Keep each line tight. Avoid paragraphs. You’re trying to direct the model.
Tip: If the model supports it, add:
- “hard cuts between shots”
- “keep character identity consistent across all shots”
- “consistent wardrobe across all shots”
Where most multi-shot workflows break
Multi-shot generations fail in predictable ways:
- Shot drift: the protagonist changes hair/wardrobe between cuts
- Lighting drift: same location, different time-of-day
- Motivation drift: the sequence looks cool but doesn’t tell a story
- Uneditable output: one shot is off, so the whole thing is unusable
That last one is the killer.
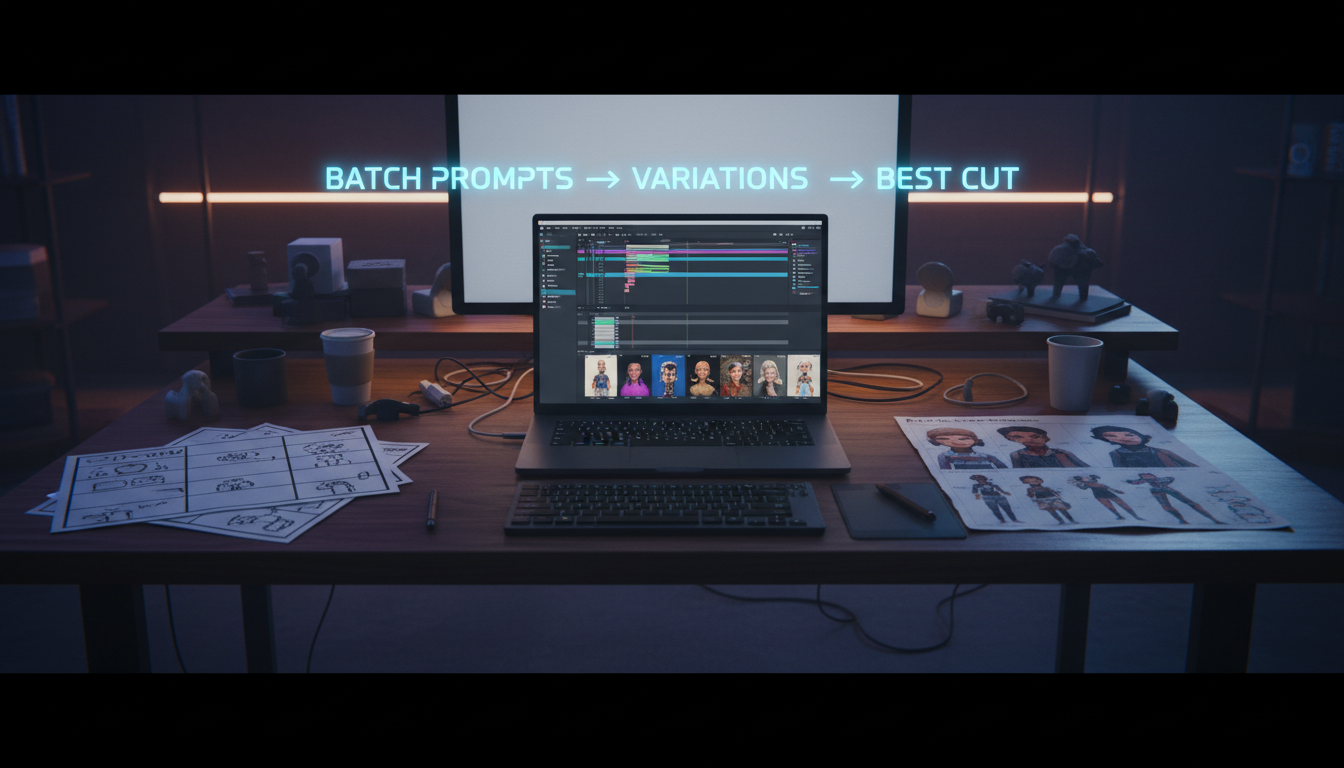
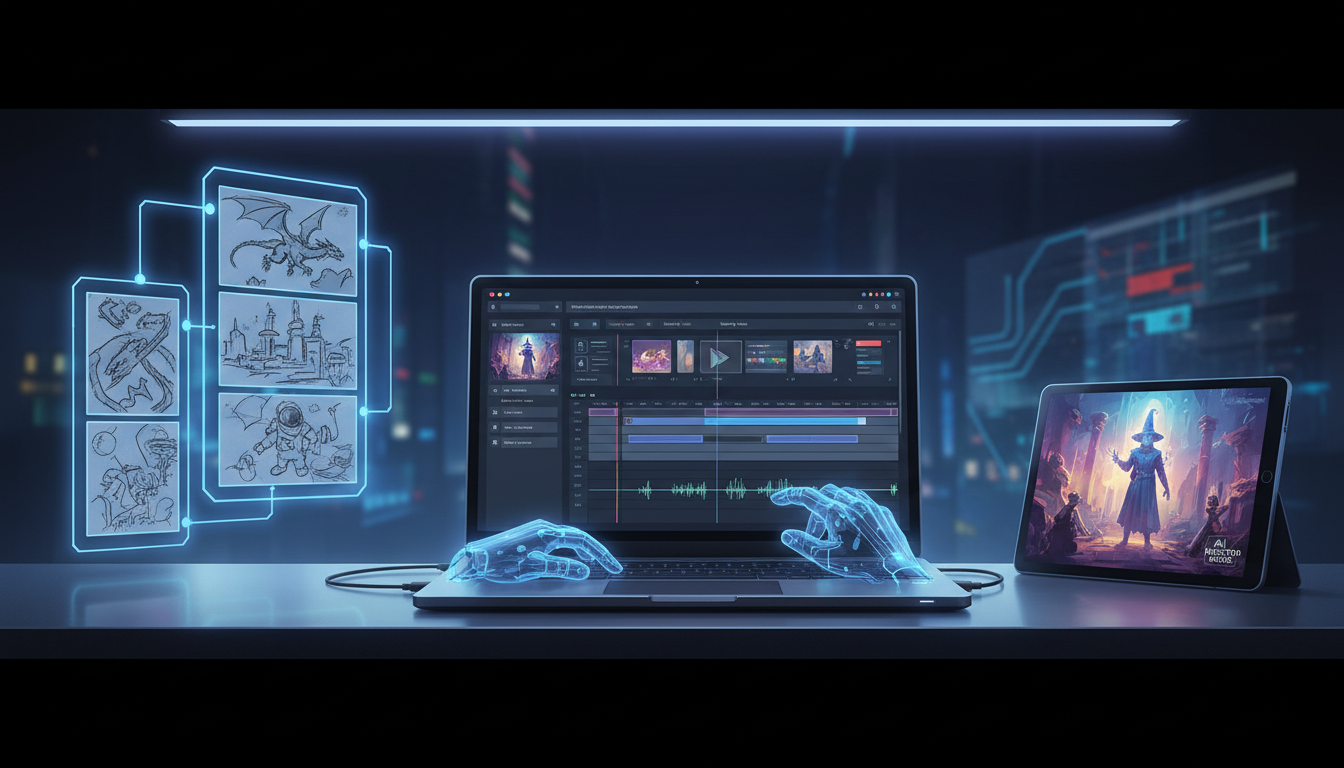
The mAikBelieve angle: generate like a model, edit like a filmmaker
mAikBelieve is built around the idea that AI video should feel like making a trailer:
- Start from a script (your story intent)
- Convert to a storyboard (your shot intent)
- Produce clips that you can swap, re-roll, and rearrange
- Finish with an editable cut, not a single “final” file you can’t change
Multi-shot generation is amazing for getting momentum — but when you want control, you still need an editor’s mindset. mAikBelieve keeps the project organized as shots, so you can iterate the one shot that’s wrong without throwing away the whole sequence.
A quick “multi-shot → editable” workflow
If you want a simple repeatable loop:
- Write logline + 6 beats
- Make 6 shot cards
- Generate a multi-shot draft (for pacing + idea validation)
- Split into shots inside mAikBelieve
- Re-roll only the weak shot(s)
- Lock the cut
Want a real walkthrough?
This recent breakdown is a solid overview of how creators are testing Kling 3.0 for filmmaking (including multi-shot workflow and consistency pitfalls).
If you try this workflow, the biggest mindset shift is simple: don’t ask for a “trailer.” Ask for six shots you can cut. That’s how AI video starts to feel like filmmaking.
Related Articles
Ready to Create Amazing AI Videos?
Join thousands of creators using mAikBelieve to generate stunning AI-powered trailers and stories.
Get Started Free