Audio-First AI Video Workflows: The Fastest Way to Get Consistent, Watchable Clips
Audio-First AI Video Workflows: The Fastest Way to Get Consistent, Watchable Clips
Most AI video workflows still start with visuals:
prompt → generate clip → then figure out what it’s “about.”
That’s why so many outputs feel random—even when they look impressive. The fastest way to get coherent, consistent, watchable AI video is to flip the order:
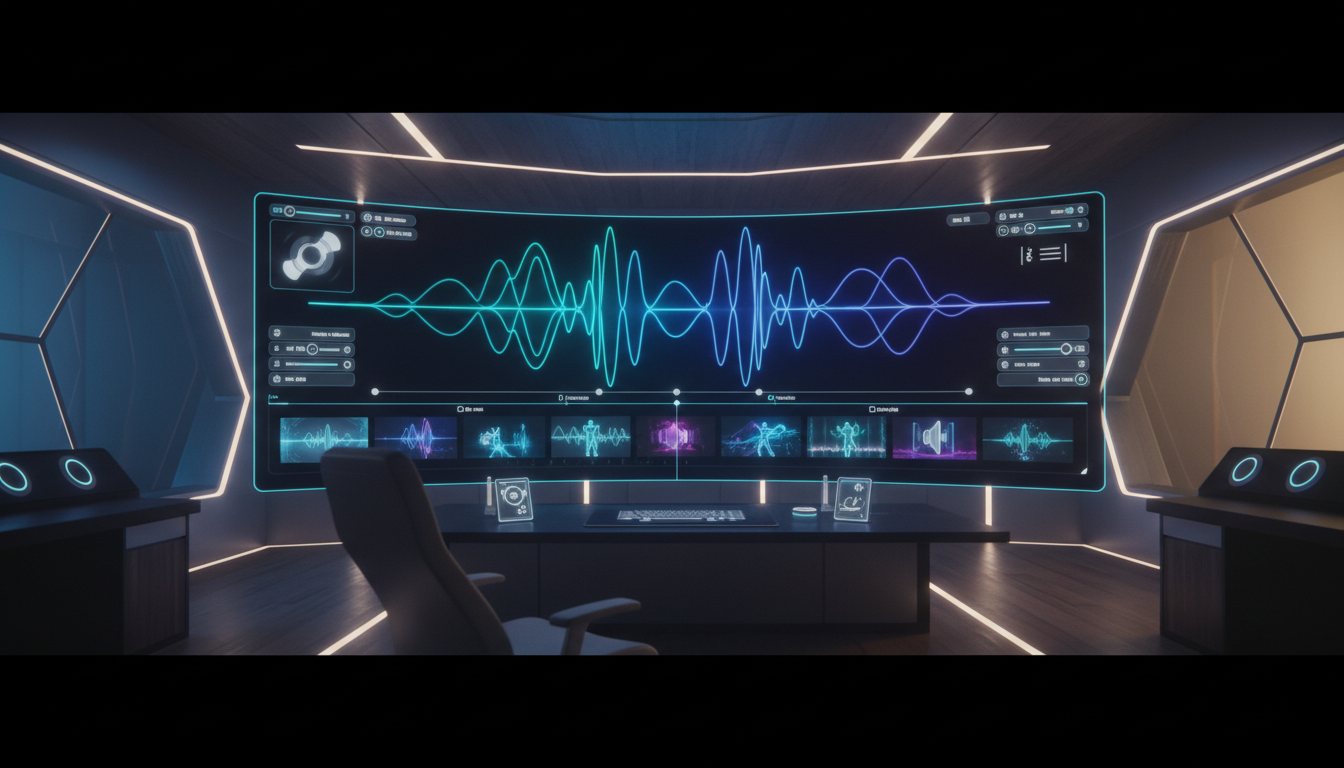
audio first, visuals second.
Once you lock the narration (or dialogue), you stop guessing at pacing, emotion, and scene structure. Your shots become a response to timing—not a lottery.
Why Audio-First Works (Even If You Don’t Do Lip Sync)
Audio is your hidden “timeline.” It sets:
- Pacing (where the viewer needs a beat)
- Scene boundaries (natural cut points)
- Energy curve (calm → hype → payoff)
- Meaning (what the shot must communicate)
When you generate video without this anchor, you often end up regenerating clips to match a story you haven’t written yet.
Audio-first prevents that waste.
The Repeatable Audio-First Pipeline (Copy This)
Step 1) Write for the edit, not the essay
Aim for 60–120 seconds of narration with clear transitions.
Practical structure:
- Hook (0–5s)
- Problem (5–20s)
- 3 key points (20–80s)
- Proof / example (80–105s)
- Close (105–120s)
Step 2) Generate (or record) the voice track
Keep it clean:
- minimal reverb/noise
- consistent tone
- stable volume
Then export a single WAV/MP3 as your source of truth.
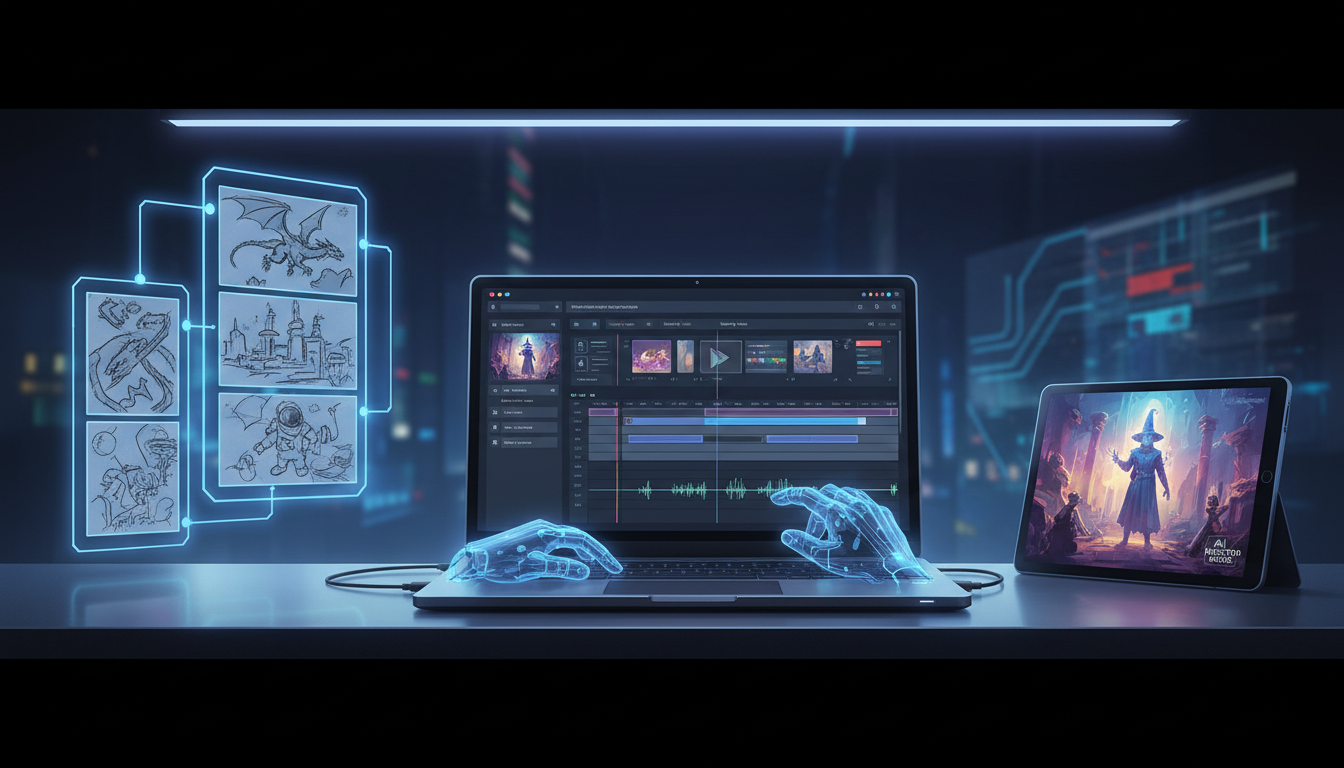
Step 3) Turn the audio into a storyboard
Listen once and create a “shot list” tied to timestamps.
Example:
- 0:00–0:05: bold cinematic hook (fast movement)
- 0:05–0:20: calm explanatory shot (stable framing)
- 0:20–0:40: “Point #1” visuals (repeatable motif)
- 0:40–1:10: “Point #2” visuals
- 1:10–1:30: “Point #3” + example
- 1:30–2:00: payoff + brand close
This is where consistency begins—because you’re defining what needs to be shown.
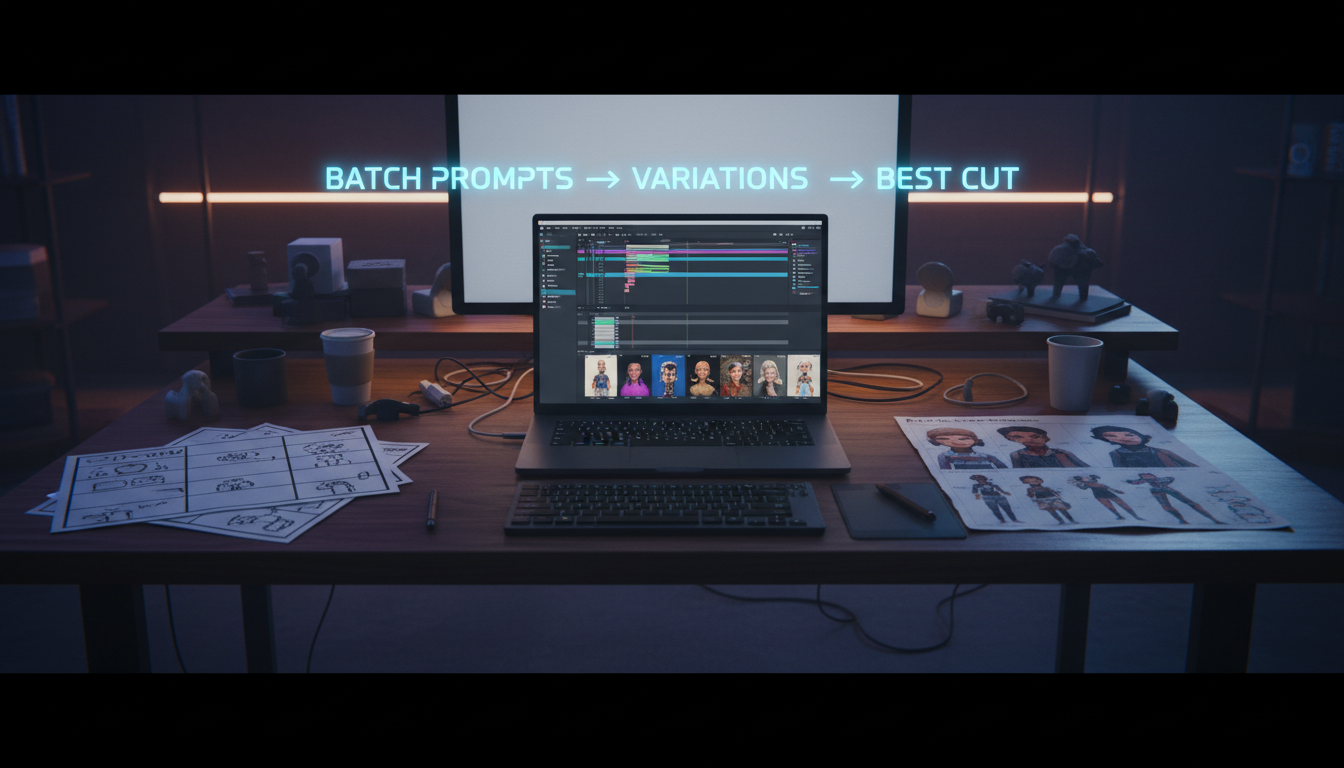
Step 4) Generate shots as modular building blocks
Instead of trying to create one perfect 60-second clip, generate:
- 6–12 short shots (3–6 seconds each)
- 2–4 variations per shot
- one repeating “signature” shot type (for style continuity)
Short clips are easier to regenerate, easier to match to beats, and easier to stitch into a story.
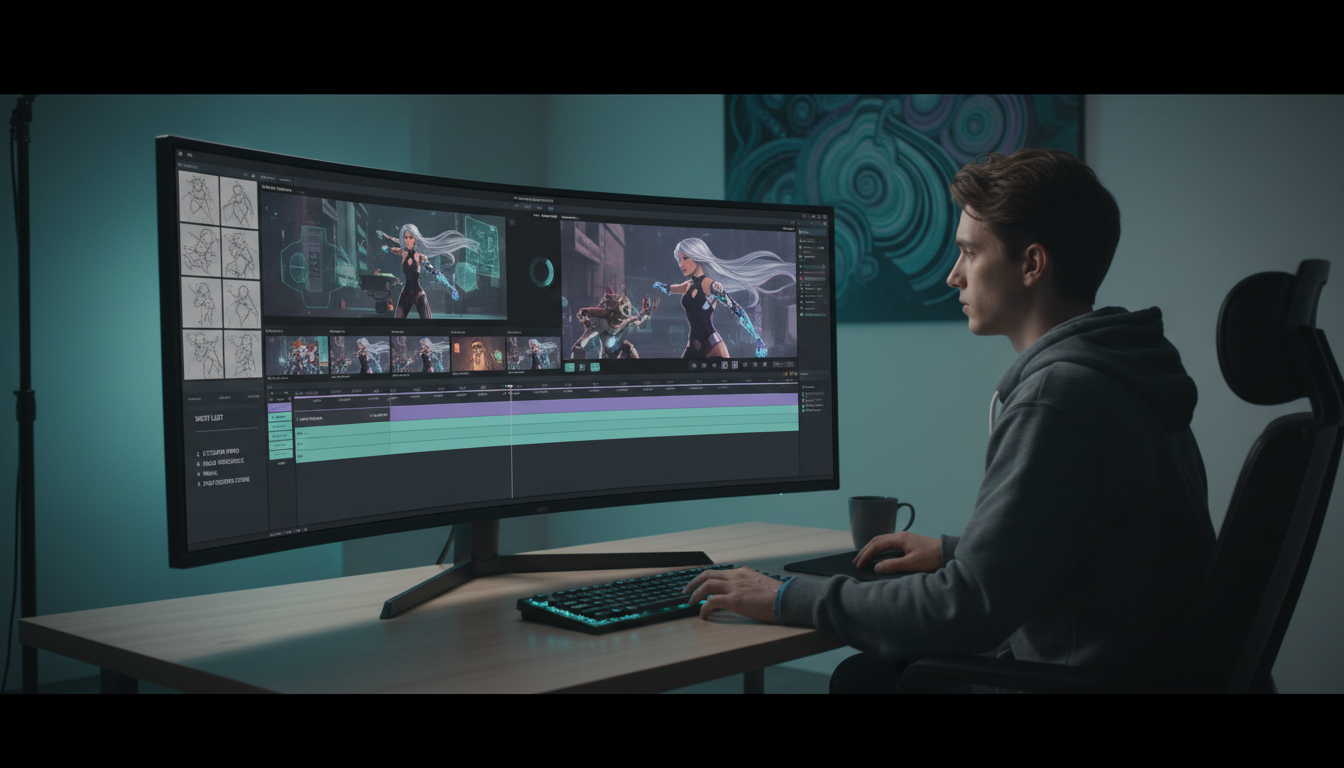
Step 5) Assemble on the timeline and only then “polish”
Once shots are placed, then you decide what needs enhancement:
- smoother transitions
- subtle camera motion where it’s missing
- consistent color/grade
- (optional) lip sync for talking-head moments
You’re polishing a structure that already works.
The Consistency Trick: Reuse Motifs
If you want videos that feel like a series, reuse:
- the same character or “host” framing
- one signature lighting setup
- recurring locations (3–5 max)
- a repeated opening shot style
That repetition reads as “brand,” not “lazy.”
How mAikBelieve Fits This Workflow
mAikBelieve is built for the audio-first, storyboard-first way creators actually ship.
Instead of bouncing between disconnected tools (script → voice → random clips → editing chaos), you can:
- start from a clear narrative and timing
- generate shots that match your storyboard beats
- keep characters and style consistent across segments
- iterate quickly: replace one shot without rebuilding the whole video
The result is a pipeline that scales: you can publish more often without your videos feeling like a roulette spin.
Bottom Line
If you want AI video that feels intentional, stop starting with visuals.
Start with the audio. Lock the timeline. Then generate shots to serve the story.
Related Articles
Ready to Create Amazing AI Videos?
Join thousands of creators using mAikBelieve to generate stunning AI-powered trailers and stories.
Get Started Free